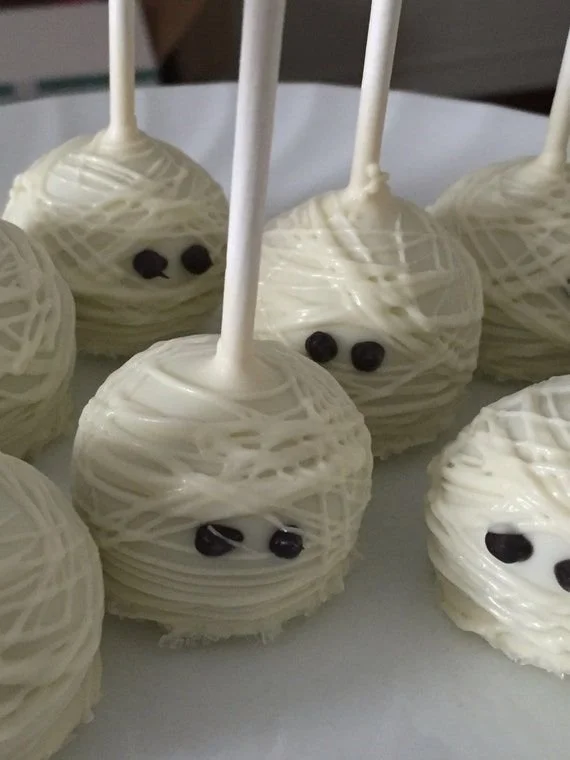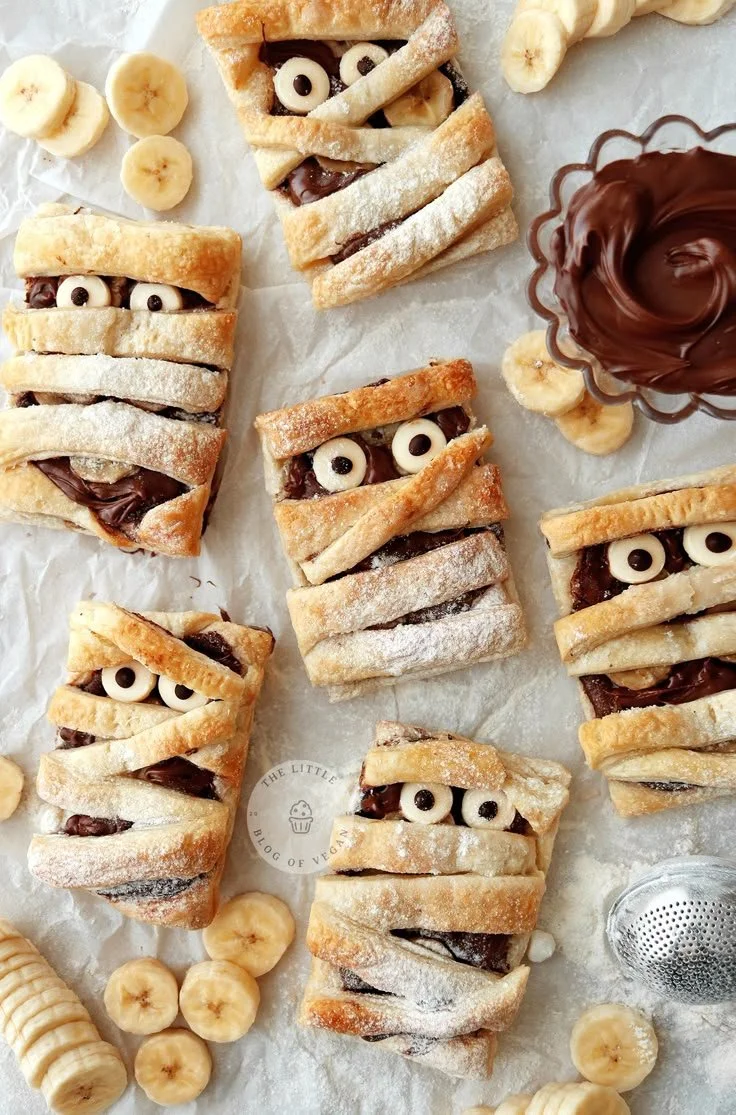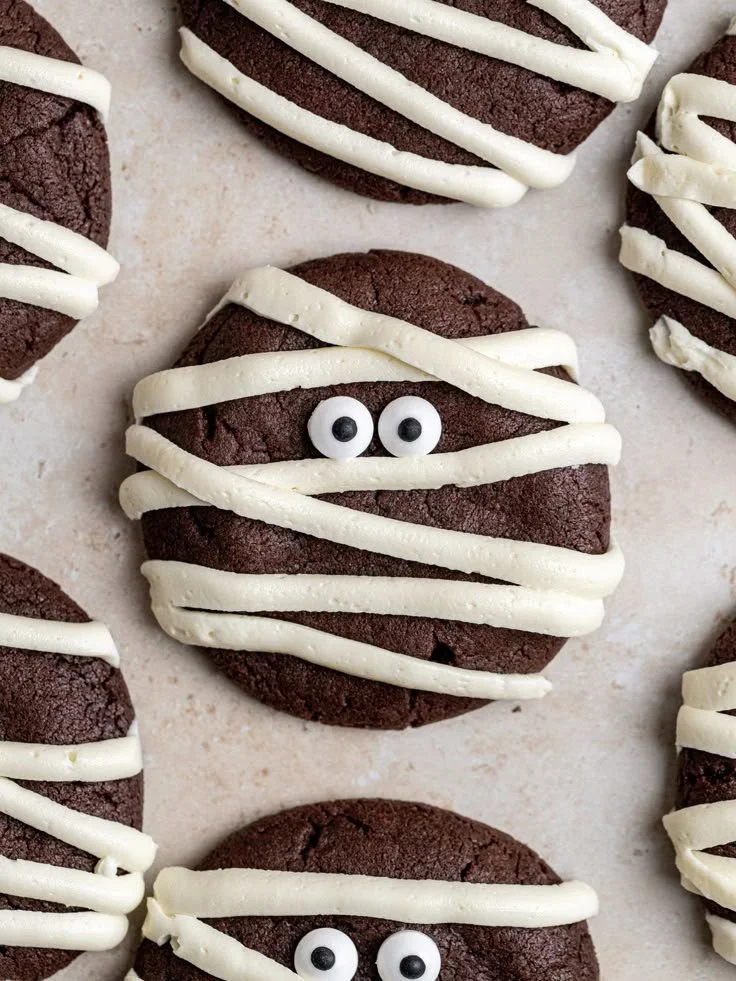
Halloween Mummy Cookies are a fun and spooky treat that are perfect for the fall season. They’re easy to make and add a festive touch to any Halloween gathering. With their light, sweet cookie base and drizzled white chocolate resembling mummy bandages, these cookies will delight both kids and adults alike.
Why You’ll Love Halloween Mummy Cookies
- Quick and Easy to Prepare: These cookies come together in no time, making them a great choice for even novice bakers.
- Perfect for Halloween Celebrations: Their spooky design makes them an eye-catching addition to Halloween parties or school events.
- Customizable Decor: You can vary the designs and expressions with candy eyes, and the optional black decorating gel allows for creative flair.
- Family-Friendly Activity: Involve the kids in the kitchen and make decorating these cookies a fun family project.
- Deliciously Sweet Treat: The combination of sugar cookie and white chocolate offers a delightful sweetness that pairs perfectly with festive gatherings.
Recipe Overview
- Prep Time: 15 minutes
- Cook Time: 10 minutes
- Total Time: 25 minutes
- Servings: 12 cookies
- Difficulty Level: Easy
Ingredients You’ll Need for Halloween Mummy Cookies
- 1 roll of refrigerated sugar cookie dough: This forms the cookie base. Feel free to use your favorite brand, or make your own if you prefer.
- 1 cup of white chocolate chips: These are melted and drizzled over the cookies to create the mummy bandages. You can substitute with a dairy-free option if needed.
- Candy eyes: These give the mummies their spooky expressions; they are widely available and easy to use.
- Flour (for dusting): Use this to prevent sticking when rolling out the cookie dough.
- Black decorating gel (optional): This can be used to add details to your mummies, such as mouths or extra bandage outlines.

How to Make Halloween Mummy Cookies
-
Preheat the Oven
Set your oven to 350°F (175°C) to ensure it’s hot enough for baking the cookies. -
Roll and Cut Dough
On a lightly floured surface, roll out the sugar cookie dough to about ¼ inch thick. Use a knife or cookie cutter to cut out rectangle shapes for the ‘mummy’ look. -
Bake the Cookies
Place the cut-out cookies on a baking sheet lined with parchment paper. Bake them according to the package directions, usually about 8-10 minutes, until the edges are lightly golden. -
Cool the Cookies
Once baked, allow the cookies to cool completely on a wire rack. This step is crucial for ensuring the melted chocolate doesn’t slide off. -
Melt the White Chocolate
In a microwave-safe bowl, melt the white chocolate chips. Start by microwaving for 30 seconds, stirring, and repeating until smooth and fully melted. -
Drizzle Chocolate
Using a fork or a piping bag, drizzle the melted white chocolate over the cooled cookies in a back-and-forth motion to create the ‘bandages.’ -
Add Candy Eyes
Before the chocolate sets, place candy eyes on the cookies to complete your mummy’s look. -
Decorate (Optional)
If desired, use black decorating gel to add additional details like mouths or more bandage lines for each mummy cookie.
Tips for Success
- Prepare Your Workspace: Keep your surface and tools lightly floured to avoid sticking, especially when rolling out the dough.
- Don’t Rush the Cooling Time: Ensure the cookies are completely cool before drizzling chocolate; otherwise, it will melt off.
- Consistency of the Chocolate: If the white chocolate gets too thick, add a teaspoon of vegetable oil to thin it out for easier drizzling.
- Eye Placement: Have fun with the placement of the candy eyes; they can be close together or spread apart for different expressions!
- Practice Quick Drizzling: If you’re using a fork, practice a few drizzles on parchment paper for the right technique before applying to cookies.
Easy Variations
- Chocolate Cookie Dough: Switch to a chocolate cookie base for a different flavor that still fits the Halloween theme.
- Nut-Free Variation: Use nut-free chocolate chips if you’re catering to allergies in your group.
- Sprinkle Surprise: Before the chocolate sets, add colorful sprinkles on top for a whimsical touch.
- Gluten-Free Option: Use gluten-free cookie dough if you’re serving someone with gluten restrictions.
- Different Shapes: Instead of rectangles, try using Halloween-themed cookie cutters, like pumpkins or bats, to vary your cookie design.
What to Serve with Halloween Mummy Cookies
- Milk: This classic pairing helps to balance the sweetness of the cookie.
- Hot Chocolate: Perfect for a chilly evening, hot chocolate adds a cozy element to your Halloween treats.
- Fruit Skewers: Fresh fruits can provide a refreshing contrast to the rich cookies.
- Pumpkin Spice Latte: This seasonal drink complements the spooky vibes of Halloween treats beautifully.
- Halloween-Themed Snacks: Serve with other themed items like spider cupcakes or ghost-shaped cheese platters for a cohesive spread.
Storage and Reheating
- Refrigerator Storage: Store cooled cookies in an airtight container in the refrigerator for up to one week.
- Freezer Storage: You can freeze these cookies for up to three months. Wrap each cookie in plastic wrap and place them in a freezer bag.
- Reheating: To enjoy warm cookies again, reheat in the microwave for 10-15 seconds.
- Preserve Texture: When storing, separate layers with wax paper to avoid sticking. This will help keep cookies intact and fresh.
Common Mistakes to Avoid
- Skipping the Cooling Step: Not allowing cookies to cool completely before decorating can lead to a melted mess.
- Overbaking: Pay attention to the baking time; overcooked cookies can become hard rather than soft and chewy.
- Too Much Flour: Adding too much flour while rolling out can make the cookies tough; use just enough to prevent sticking.
- Not Using a Piping Bag: For neat drizzles, investing in a piping bag can make a significant difference in presentation.
- Forgetting the Candy Eyes: It’s easy to get wrapped up in the chocolate drizzle; don’t forget to add the eyes before the chocolate sets!
Halloween Mummy Cookies: Background & Cultural Inspiration
Halloween Mummy Cookies draw inspiration from the fun and spooky traditions associated with Halloween. Originating from ancient Celtic festivals, Halloween has evolved into a celebration filled with costumes, decorations, and themed foods. The concept of mummies adds a playful fright to festivities, embodying the excitement of the spooky season. Cookies decorated to resemble mummies are a fun way to engage both children and adults, reflecting creativity and whimsical delight during the holiday.
Frequently Asked Questions
Can I make the dough from scratch?
Absolutely! You can use any sugar cookie recipe you like, but refrigerated dough offers more convenience.
How long do these cookies last?
Stored in an airtight container, they can last about one week in the refrigerator or up to three months in the freezer.
What can I use instead of white chocolate chips?
You can substitute milk chocolate or dark chocolate chips, but keep in mind it will alter the taste slightly.
Are these cookies suitable for transport?
Yes, once cooled and decorated, they transport well if packed carefully in a container. Use wax paper between layers.
Can I prep the dough ahead of time?
Yes, you can prepare the dough up to 24 hours in advance. Keep it wrapped in the fridge until you are ready to bake.
Final Thoughts
Halloween Mummy Cookies are an engaging and delightful treat to whip up for your spooky celebrations. Their simple preparation and inviting taste make them a perfect activity for families and a charming addition to any Halloween gathering. Give this recipe a try, and watch them disappear faster than you can say “Trick or Treat!”
PrintHalloween Mummy Cookies

Fun and spooky Halloween cookies with a sweet sugar cookie base and drizzled white chocolate resembling mummy bandages.
- Prep Time: 15 minutes
- Cook Time: 10 minutes
- Total Time: 25 minutes
- Yield: 12 cookies
- Category: Dessert
- Method: Baking
- Cuisine: American
- Diet: Vegetarian
Ingredients
- 1 roll of refrigerated sugar cookie dough
- 1 cup of white chocolate chips
- Candy eyes
- Flour (for dusting)
- Black decorating gel (optional)
Instructions
- Preheat the oven to 350°F (175°C).
- Roll out the sugar cookie dough to about ¼ inch thick and cut out rectangle shapes.
- Place the cut-out cookies on a baking sheet lined with parchment paper and bake for 8-10 minutes until lightly golden.
- Allow the cookies to cool completely on a wire rack.
- Melt the white chocolate chips in a microwave-safe bowl.
- Drizzle the melted white chocolate over the cooled cookies.
- Add candy eyes before the chocolate sets.
- Decorate with black decorating gel if desired.
Notes
Tip: Ensure cookies are completely cool before drizzling chocolate to avoid melting.