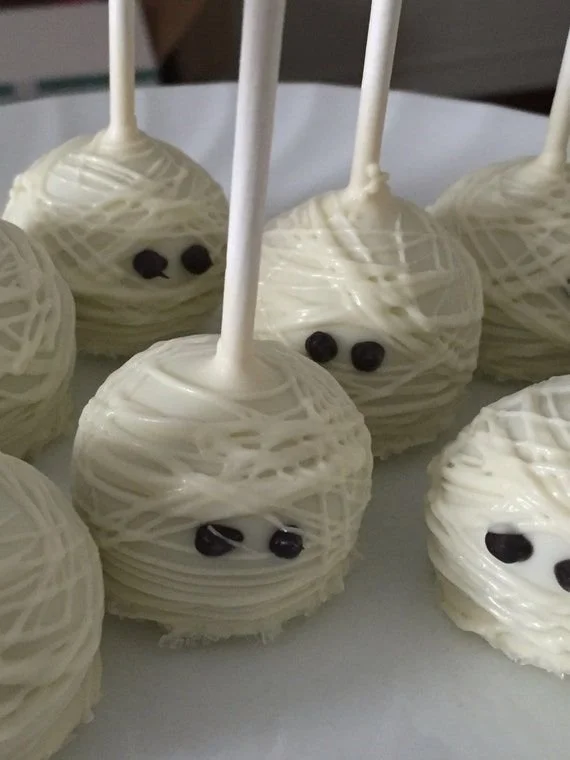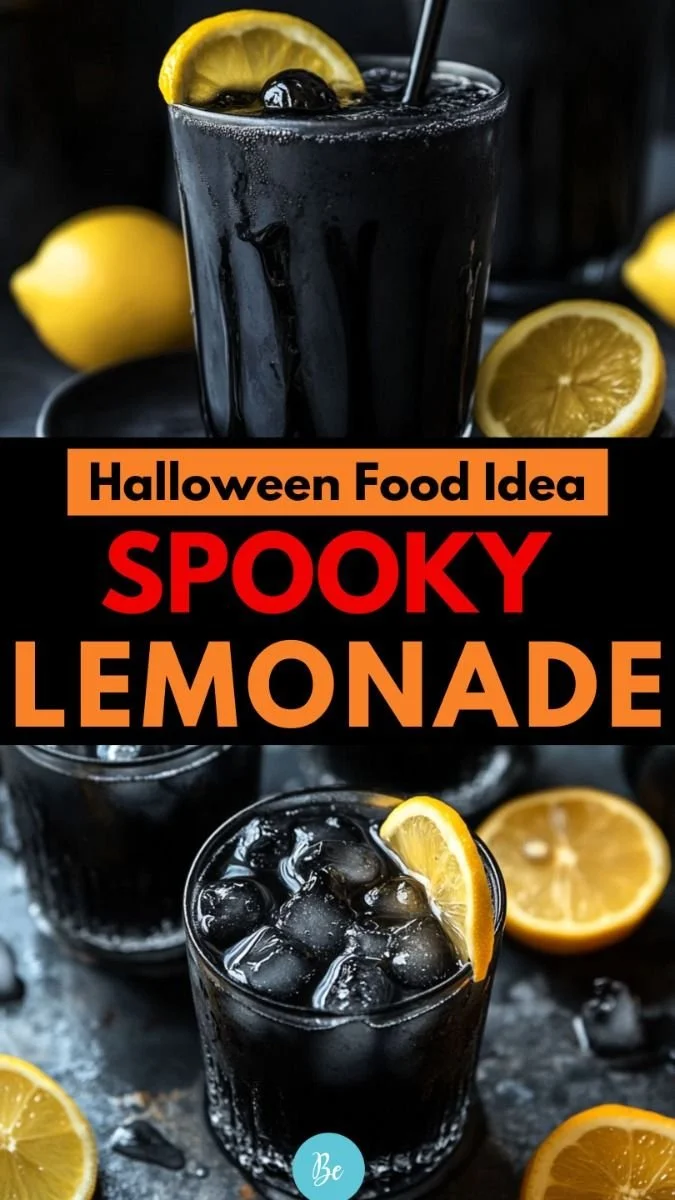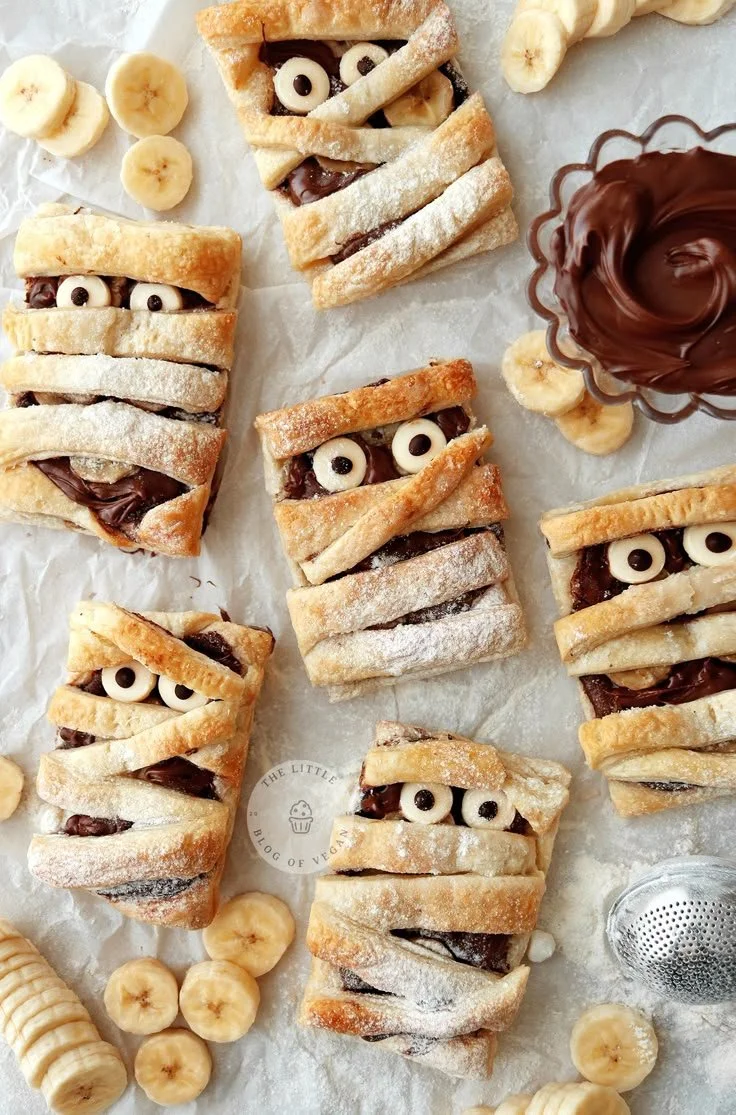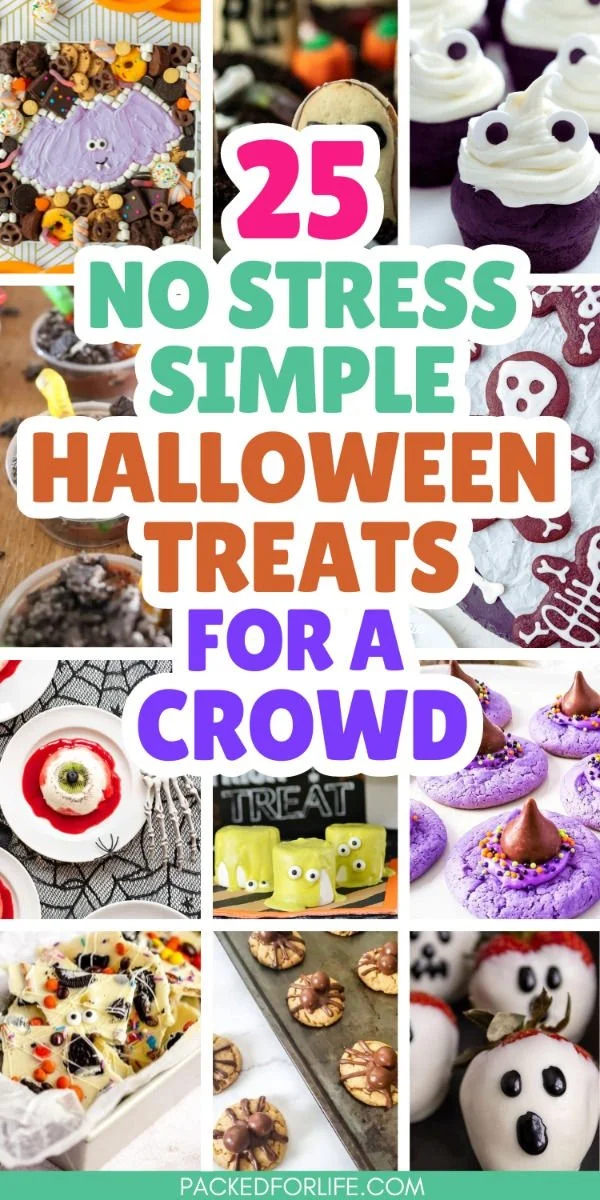
Delight in the spooky spirit of Halloween with these Easy DIY Halloween Treats! Perfect for parties and family gatherings, these treats are not only fun to make but also deliciously satisfying. From dirt and worm pudding to ghost cupcakes and witch hat cookies, this recipe brings creative, playful desserts to your Halloween table that everyone will adore.
Why You’ll Love Easy DIY Halloween Treats
- Fun for All Ages: These treats are a blast to make with kids, allowing for creativity and a hands-on experience. Everyone can get involved in the decorating process!
- Quick and Simple: With no complicated techniques or lengthy prep times, these treats come together quickly, making them ideal for last-minute festivities.
- Customizable Creations: You can easily switch up ingredients or decorations based on your preferences or what you have on hand, giving you endless possibilities.
- Visually Appealing: Each treat is designed to be festive and eye-catching, perfect for impressing guests or adding flair to any Halloween-themed gathering.
- Kid-Friendly: Not only are these desserts easy to make, but they are also goodies that kids will love. They offer delightful flavors without being overly complicated.
Recipe Overview
- Prep Time: 30 minutes
- Cook Time: 15 minutes (for cupcakes)
- Total Time: 45 minutes
- Servings: 12 servings
- Difficulty Level: Easy
Ingredients You’ll Need for Easy DIY Halloween Treats
- Dirt and Worm Pudding
- 2 cups chocolate pudding
- 1 cup crushed Oreo cookies
- 1 cup gummy worms
- Ghost Cupcakes
- 12 cupcakes (store-bought or homemade)
- 2 cups white frosting
- 24 chocolate chips (for eyes)
- Witch Hat Cookies
- 12 sugar cones
- 12 chocolate wafers
- Black icing
- 1 cup sprinkles

How to Make Easy DIY Halloween Treats
-
Prepare the Dirt and Worm Pudding
- In a clear cup, layer chocolate pudding at the bottom, followed by a layer of crushed Oreo cookies. Top with gummy worms poking out for a creepy, fun presentation.
-
Make the Ghost Cupcakes
- If baking cupcakes, do so according to the recipe or package instructions. Once cooled, frost each cupcake generously with white frosting. Place two chocolate chips on each for cute little eyes.
-
Assemble the Witch Hat Cookies
- Secure a sugar cone on top of a chocolate wafer by applying black icing at the base of the cone. Decorate with colorful sprinkles to make them festive.
Tips for Success
- Allow Cupcakes to Cool: Ensure your cupcakes are completely cooled before frosting for the best texture and result.
- Use Fresh Ingredients: Fresh gummy worms and Oreos will enhance the taste and appearance of your treats.
- Layer Wisely: When preparing the dirt pudding, layer thickly for a better visual effect.
- Creative Decoration: Don’t hesitate to get creative with your decorations! Use colored sprinkles or edible glitter to make the treats even more festive.
- Storage: Keep your treats in an airtight container to maintain freshness until they’re ready to be served.
Easy Variations
- Dirt Pudding Variations: Swap out the gummy worms for candy corn for a more autumn-themed taste.
- Gluten-Free Option: Use gluten-free cookies for the pudding if you need a gluten-free version.
- Cupcake Flavors: Experiment with different cupcake flavors, such as chocolate or vanilla, to change things up.
- Frosting Options: Try different frosting flavors like chocolate or caramel for your ghost cupcakes.
- Witch Hat Cookie Variations: Use mini chocolate cookies instead of chocolate wafers for the base.
What to Serve with Easy DIY Halloween Treats
- Apple Cider: The fruity sweetness of apple cider pairs wonderfully with chocolate treats and brings a festive touch.
- Popcorn: Serve a bowl of popcorn for guests to enjoy while indulging in these treats; it’s a light side that balances out the sweetness.
- Halloween Punch: A fun, spooky punch with floating eyeball candies will elevate your Halloween treat table.
- Cheese Platter: Offer a savory option with a variety of cheeses and crackers for a nice contrast to the sugary treats.
- Veggie Tray: A colorful veggie tray adds a healthy crunch to your dessert table, balancing out the sweetness.
Storage and Reheating
- Refrigerator Storage: Store any leftovers in an airtight container in the refrigerator for up to 3 days.
- Freezer Storage: The dirt pudding can be frozen for later use, just be mindful that the texture may change slightly. Defrost in the refrigerator before serving.
- Cupcakes: Frosted cupcakes can be kept for a day at room temperature, but any longer, store them in the fridge.
- Texture Preservation: To preserve the freshness of the cookies and pudding, separate them before storing if possible.
Common Mistakes to Avoid
- Overbaking: If making cupcakes from scratch, monitor them closely to avoid dryness. Insert a toothpick to check for doneness; it should come out clean.
- Skipping Layers: Don’t skip the layering in the dirt pudding; it’s essential for both texture and presentation.
- Using Stale Ingredients: Always check the expiration dates on your pudding mix and cookies to ensure maximum flavor.
Easy DIY Halloween Treats: Background & Cultural Inspiration
Halloween treats often reflect the playful and whimsical spirit of the holiday. Created to amuse and delight, these DIY treats embody the fun of Halloween with easy-to-make desserts that cater to both children and adults. The tradition of using spooky themes in food ties back to ancient customs where offerings were made to ward off spirits. These simple yet creative ideas align with this tradition, turning everyday ingredients into festive delights that capture the essence of Halloween.
Frequently Asked Questions
Can I make these Halloween treats ahead of time?
Yes, you can prepare the dirt and worm pudding a day in advance; just cover it tightly and store it in the refrigerator.
What if I can’t find chocolate cones?
You can use any flat cookie as a base for the witch hat, like a chocolate biscuit or a graham cracker.
Are these treats suitable for a gluten-free diet?
Yes, by using gluten-free cookies and cakes, you can create versions of these treats that everyone can enjoy.
How long do these treats last?
These treats will last for about 3 days in the refrigerator. The pudding may need to be eaten sooner due to the creaminess.
Can I use homemade frosting instead of store-bought?
Absolutely! Homemade frosting can add a personal touch and unique flavor to your ghost cupcakes.
Final Thoughts
These Easy DIY Halloween Treats make for a delightful addition to any celebration, appealing to both kids and adults. With their simple steps and fun designs, they bring a sense of joy and creativity to your Halloween festivities. Try making these this year, and you’ll surely have a spooky experience filled with delicious treats!
PrintEasy DIY Halloween Treats

Delight in these fun and spooky Easy DIY Halloween Treats, perfect for parties and family gatherings.
- Prep Time: 30 minutes
- Cook Time: 15 minutes
- Total Time: 45 minutes
- Yield: 12 servings
- Category: Dessert
- Method: minimal baking for cupcakes, No Cooking Required
- Cuisine: American
- Diet: Vegetarian
Ingredients
- 2 cups chocolate pudding
- 1 cup crushed Oreo cookies
- 1 cup gummy worms
- 12 cupcakes (store-bought or homemade)
- 2 cups white frosting
- 24 chocolate chips (for eyes)
- 12 sugar cones
- 12 chocolate wafers
- Black icing
- 1 cup sprinkles
Instructions
- Prepare the Dirt and Worm Pudding: In a clear cup, layer chocolate pudding at the bottom, followed by a layer of crushed Oreo cookies. Top with gummy worms poking out for a creepy, fun presentation.
- Make the Ghost Cupcakes: If baking cupcakes, do so according to the recipe or package instructions. Once cooled, frost each cupcake generously with white frosting. Place two chocolate chips on each for cute little eyes.
- Assemble the Witch Hat Cookies: Secure a sugar cone on top of a chocolate wafer by applying black icing at the base of the cone. Decorate with colorful sprinkles to make them festive.
Notes
Allow cupcakes to cool completely before frosting for the best texture. Store treats in an airtight container to maintain freshness.